Remove Duplicates in Excel and Keep the First or Latest Row
Compare ways to find and remove duplicate Excel rows. Review the key, keep the first or latest record, check row counts and understand how Undo works.
Data → Remove Duplicates keeps the first occurrence based on the columns you select and removes the later matching records from the selected range or table. Decide which columns identify a duplicate before confirming the dialog. You can use Undo / Ctrl+Z while the action remains in the undo history, but keep a copy of the original data as well. Microsoft explains both behaviors in its guide to removing duplicate values.
The safe workflow is: count → review → decide which copy wins → then remove. Here's each step.
Choose a method for the result you need
| Goal | Method | Effect on source data |
|---|---|---|
| Find repeated values without deleting | Conditional formatting or a COUNTIF helper column | Highlights or counts; no records removed |
| Review duplicates defined by several fields | COUNTIFS with all approved key columns | Adds a reviewable count; no records removed |
| Keep the first record for each key | Remove Duplicates with the intended key columns | Removes later matching records from the selected range |
| Keep the latest record for each key | Sort the entire table by a valid date descending, then remove duplicates by key | Retains the latest row if the ordering and tie rule are defined |
Repeated values are not always duplicate records. Two orders from the same customer should remain separate unless their complete transaction key identifies the same order. Keep rows with missing keys or conflicting details for review.
Step 1: Count duplicates before touching anything
For a single key column (say, email in column B):
=COUNTIF($B$2:$B$5000, B2)
Any value above 1 marks a duplicate group. For duplicates defined by a combination of columns (same customer AND same date AND same amount):
=COUNTIFS($A$2:$A$5000,A2, $C$2:$C$5000,C2, $D$2:$D$5000,D2)
Add this as a helper column named Copies, then filter to >1 to see every affected row at once.
To highlight instead: select the intended key column → Home → Conditional Formatting → Highlight Cells Rules → Duplicate Values. This rule compares individual cell values in the selection; it does not compare a combination of fields as a whole row. Use COUNTIFS for a multi-column key.
Step 2: Decide what "duplicate" actually means
The subtle bug in most dedup jobs isn't the removal — it's the definition:
- Case and whitespace.
COUNTIFis not case-sensitive:ACME Corpandacme corpmatch. Extra spaces can still cause mismatches. Normalize those deliberately withTRIMwhere appropriate;LOWERis not required just to make COUNTIF ignore case. See Microsoft's COUNTIF guidance and the full cleanup checklist. - Same key, different data. Two rows with the same email but different phone numbers aren't a duplicate — they're a conflict that needs merging, not deleting.
- Legitimate repeats. In a transactions sheet, the same customer appearing twice is normal. Dedup keys must include enough columns to identify a true double-entry.
Step 3: Choose which copy survives
Excel's built-in tool always keeps the first occurrence — the top-most row. If you'd rather keep the most recent record, sort by your date column descending before removing duplicates, so the newest is first in each group.
Sort the entire table, not just the date column. Validate dates first, and choose a tie-breaker when two records have the same timestamp. In the Remove Duplicates dialog, select the customer key—not the Updated column—if your rule is one record per customer.
Worked example of keeping the latest customer record
These fictional rows represent customer records, not separate transactions:
| Record | Customer ID | Updated | Expected decision |
|---|---|---|---|
| R1 | C100 | 2026-09-01 | Remove older C100 record |
| R2 | C200 | 2026-09-02 | Keep |
| R3 | C100 | 2026-09-07 | Keep latest C100 record |
| R4 | C300 | 2026-09-03 | Keep |
After sorting by Updated descending and deduplicating by Customer ID, the retained record IDs should be R3, R4 and R2. Verify 4 original rows − 3 retained rows = 1 removed row. Do not delete R1 automatically if it contains information that must be preserved or reconciled.
To mark survivors with formulas instead (keep first occurrence):
=IF(COUNTIF($B$2:B2, B2)=1, "keep", "remove")
The expanding range $B$2:B2 counts only occurrences up to the current row, so the first copy gets "keep" and later ones get "remove". Filter and delete the "remove" rows — after review.
Step 4: Remove, and verify the count
However you delete, verify: rows before − rows after should equal the number of "remove" flags. If it doesn't, stop and check.
The one-instruction version
With AI for Excel, the whole workflow — normalize, count, review, choose survivors, delete, verify — is a described task:
"Find duplicate rows by email, ignoring case and extra spaces. Where duplicates have conflicting phone numbers, flag them instead of deleting. Otherwise keep the most recent row by the Updated column. Show me a summary before finalizing."
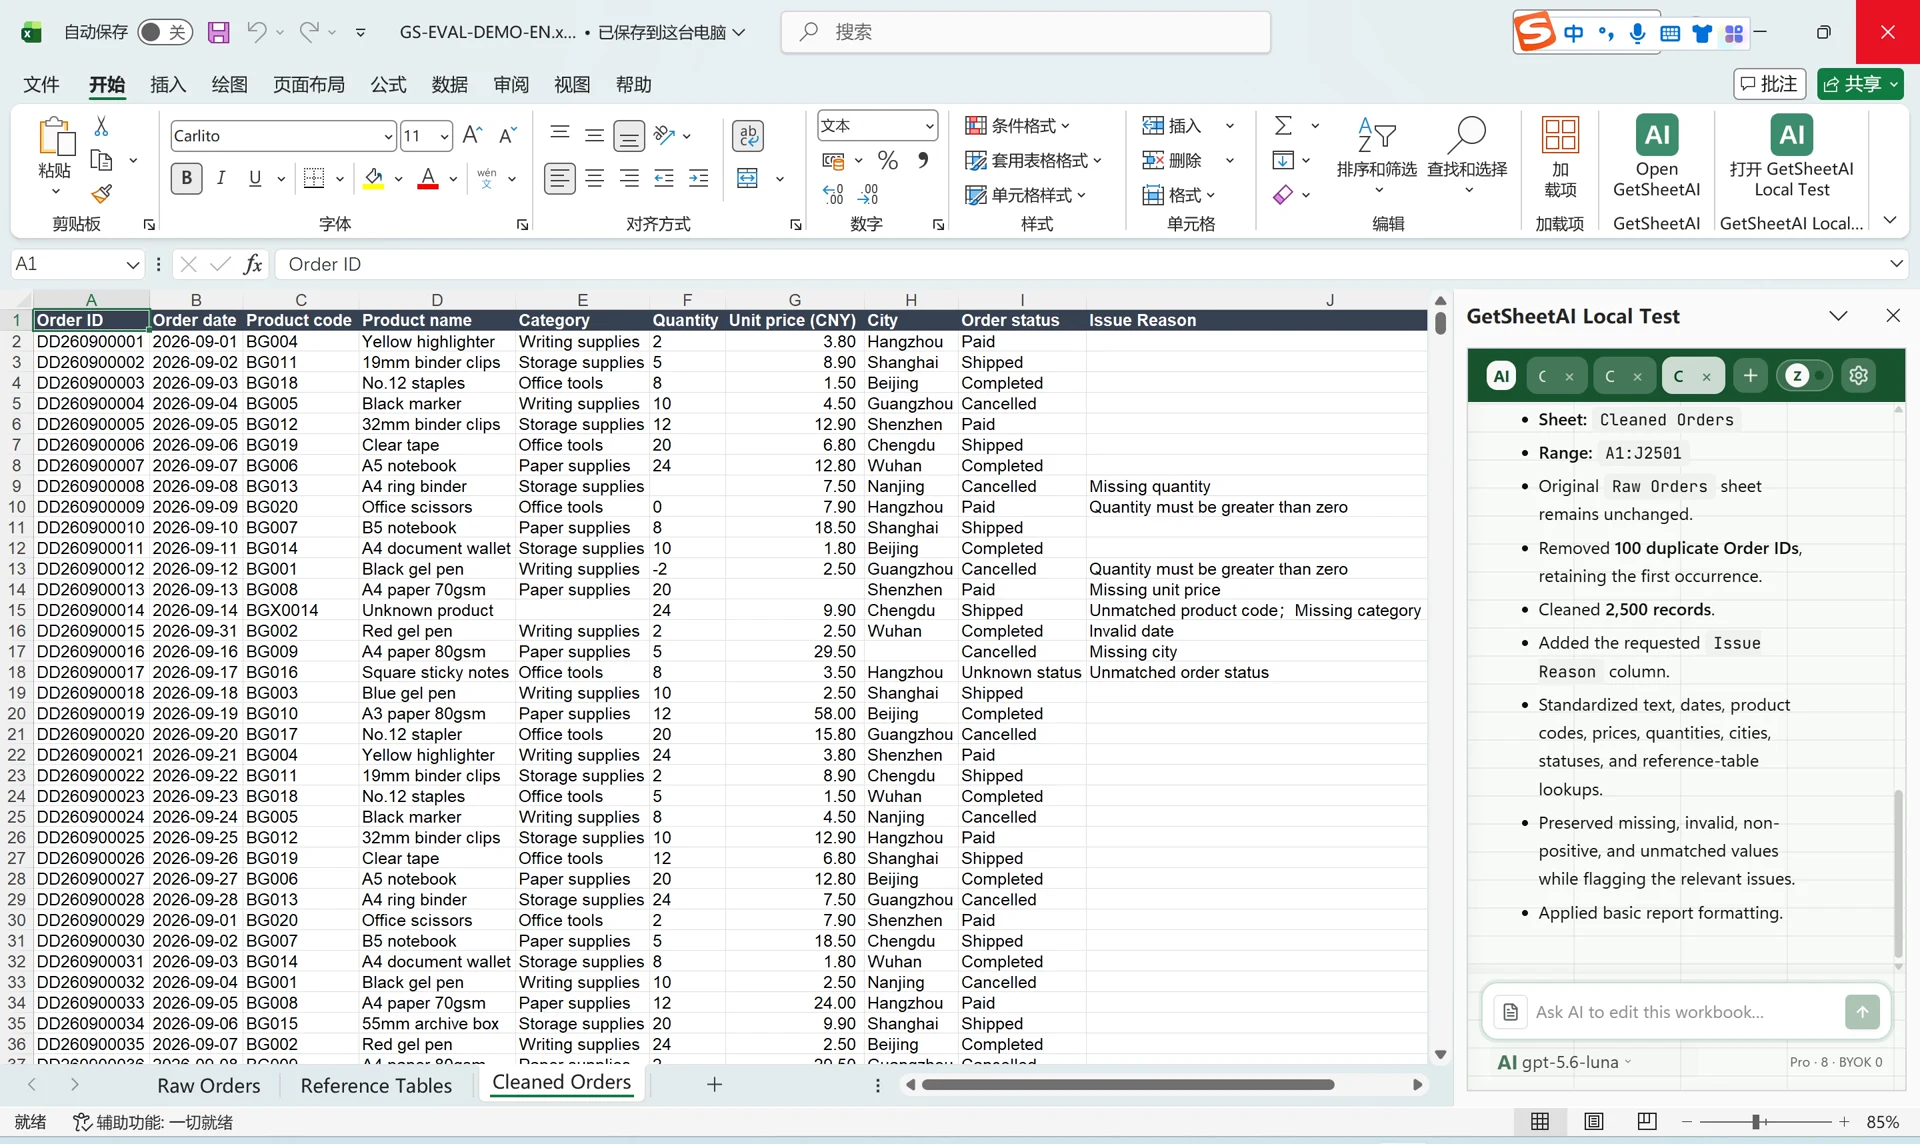
With GetSheetAI, request a separate result sheet and a list of proposed removals so you can review the key and survivor rule. Keep the original sheet, check the record counts and resolve conflicts before replacing your working data. If keys are missing, use the blank-cell review workflow instead of grouping all missing keys as one customer. See GetSheetAI's features, or start with the download.
FAQ
How do I remove duplicates but keep the latest entry?
Sort by your date column descending first — Remove Duplicates keeps the first row of each group, which after sorting is the newest. Or use a helper formula to flag all but the latest, review, then delete.
Why does Excel find duplicates that look different?
COUNTIF ignores case, so uppercase and lowercase text can belong to the same group. Extra spaces and inconsistent data types may instead prevent an intended match. Check the key columns and normalize only differences that your business rule treats as equivalent.
Can I undo Remove Duplicates?
Yes. Use Undo or Ctrl+Z while that action remains available in Excel's undo history. A saved source copy is still useful because undo history is not a permanent audit trail. Keep a list of removed record IDs if you need to review the change later.
Can Excel show which rows were removed as duplicates?
Not with the built-in tool — it only reports a count. Use the helper-column method, or an assistant that logs each removed row, if you need an audit trail.